Unless you live under a rock or are completely off the grid when it comes to technology, you’re probably aware of the maker movement. However, if you need a refresher, I made an infographic. The maker movement is such an exciting time for students and teachers alike! Yet, while a part of you is excited, the other part of you is flooded with the reasons why you just can’t start a Makerspace right now.
- “I have no money.”
- “I’m just not super comfortable with technology.”
- “We don’t have devices at my school.”
- “I don’t have the space.”
- “I don’t have the schedule that allows me to teach the kids how to do the stuff.”
I find this to be incredibly unfortunate. Not unfortunate in that I wish you had more money and were more comfortable with technology (although I sympathize), but unfortunate in that you think you need both of those to start a Makerspace. With the massive amount of information out there about Makerspaces, somewhere along the way, the term “maker” became synonymous with words like “3-D printing” and “robots.”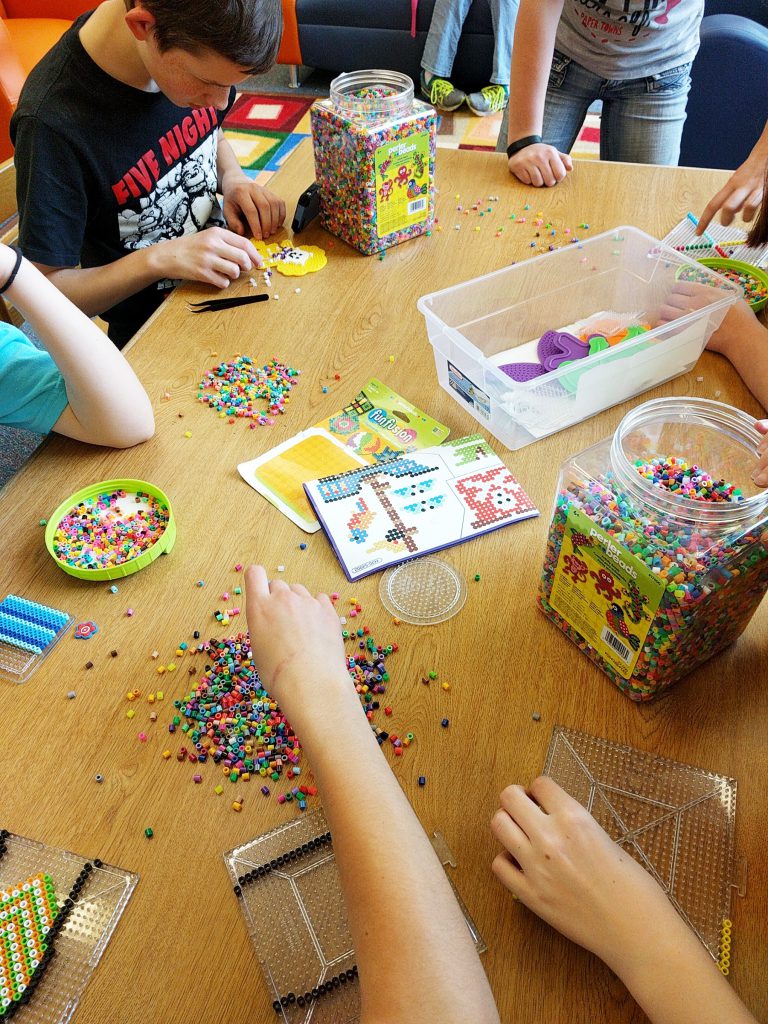
My husband loves woodworking and I like building computers. Am I more of a “maker” than he is? Am I being less of a maker when I use zip-ties and soda caps to fix my son’s toy car rather than 3-D printing a replacement part? Absolutely not!
How did this misperception happen?
I’ll admit I tend to blog more about my students’ high-tech projects than our low-tech projects. Yet it’s only because I think others would benefit more from learning about how to build an augmented reality (AR) sandbox compared to sewing a pencil case, simply because an AR sandbox is something new and unique and a pencil case made from an old blanket … well, isn’t. It definitely doesn’t mean that I’m less amazed by the project, but for some reason I feel like everybody already knows how to do it and knows how awesome of a project it is.
Yet what’s happening is people who are reading my blog (and other maker educators’ blogs) are seeing nothing but tech-related maker projects. From the outside looking in (or through the small lens provided via social media and my blog), some people think we do nothing but tinker with circuitry and program robots in my Makerspace. And so this idea of “maker = tech” continues to expand. Yet it’s not like that at all!
Gather materials and just start making
Technology is nice, but it is far from a requirement. If you want to start making in your library or classroom, stock up on these cheap (or free) items for limitless possibilities.
- As much cardboard as you can find: Save tissue boxes, toilet paper rolls and boxes. Some projects work better with corrugated cardboard, so it’s a good idea to have multiple types.
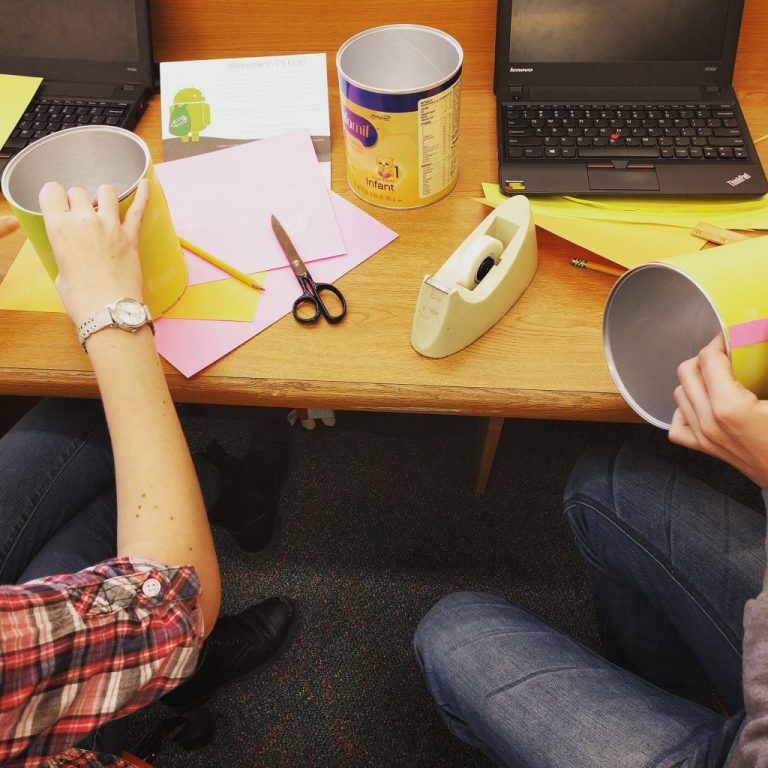
- Plastic bottles/jars/containers: 2-liter bottles and coffee cans were a hot commodity in our Makerspace. Put a collection box in the cafeteria and the faculty lounge, and within days you’ll have enough stock for the semester. And don’t forget to save the caps! Water bottle caps make awesome wheels.
- Straws: I had to buy these, as they weren’t readily available, but you can get a huge box at a warehouse store for a couple of bucks.
- Pool noodles: Just trust me. They are very easy to cut and can be used for so many things. They’re sturdy enough to serve as wheels and you can easily poke straws or skewers through them to build some amazing structures.
- Basic tools: Consider getting a set of screwdrivers, wire cutters and pliers. You can get a basic tool kit for around $20.
- Glue: Hot glue was used abundantly. This means you should also stock up on Goo-Gone.
- Copper wire: You don’t necessarily need to buy the craft kind, although it’s typically available in different colors that way. We used wire to make jewelry and it was a go-to when we needed to MacGyver something to work.
- Wooden dowels and toothpicks: These serve as great axles and can really help support some of your otherwise floppy structures. You can also use kebab skewers.
- Duct tape: Duct tape is to Makerspace as water is to life.
- Yarn: Yarn is great for knitting and crocheting, but it is also great for adding a little hair to your coffee-can robot or a string to your balloon-powered car. Craft stores always have yarn on the cheap. (And don’t forget to inquire about educator discounts! Jo-Ann’s and Michaels offer teachers 15% off every purchase.)
- Broken/obsolete technology: Our tech department was gracious (and overly willing) to give us all of the old technology that was no longer used in the school. Students loved taking apart the “craptops.” We made bracelets of our names with keyboard keys and necklaces with motherboard charms.
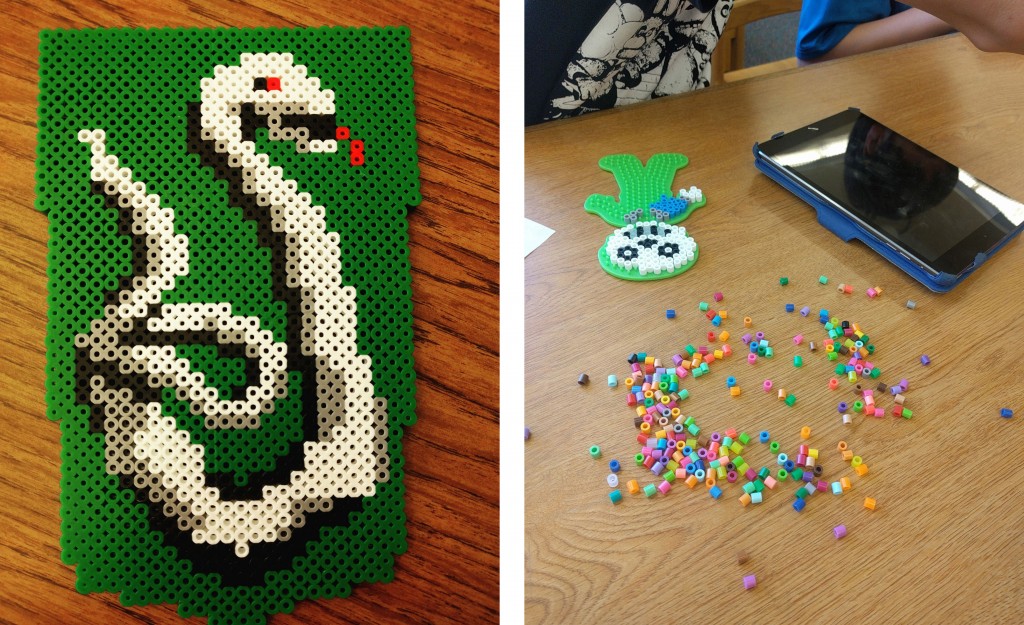
- Perler beads: Our students made some insane designs with Perler beads. They’re inexpensive, and you can make some incredibly intricate designs. Students can make their own action figures to use in stop motion or green screen videos. Check out this Slytherin crest one of my students made me. #hpforlife
 I have “stuff” — now what?
- Make it accessible. This will take some organizing, but it will help with planning projects and will help even more with clean up. If students know what is available to them without having to dig, they can spend more time making and less time shuffling through cabinets. And don’t forget about storage for “in-progress” creations.
- Don’t assume. Don’t assume the students have seen Perler beads before. Do a sample project and put it on display.

For kids who need some inspiration, point them to resources like Instructables or Make it @ Your Library, which have step-by-step guides and lots of pictures. Educators qualify for a free Instructables Pro account, so be sure to sign up with your school email. Consider creating Pinterest boards for specific tools (i.e., cardboard, Perler beads) to curate resources you and your students find.
Market your stuff. Create a hashtag to share Makerspace additions and projects, and encourage kids to use it when they share their projects. You can check out some of our projects at #hmsmakes on Instagram and Twitter. This is a great way for kids to get inspired from each other and a great way to display student work if it can’t physically be put on display.
- Showcase student creations. Even the simplest projects deserve the spotlight. Set aside a spot where students can display their work. This is a great way to encourage makers and market the resources available in your Makerspace.
- Above all, don’t overthink it. No matter how you envision your Makerspace, it will always change and continue to change (sometimes on a daily basis). Go with it. The students should drive the Makerspace, so if they want to rearrange or reorganize things, let them. After all, it’s for them.
Need some inspiration for low-tech projects? Check out these amazing maker resources: