Integrating 3D printing in a meaningful way has been a challenge for me.
Elementary-age students struggle with the disconnect between the finished design or model and the long print times. This gets in the way of the iteration process and causes a lot of frustration. Multiply that by many classes and you have a significant backup of days or weeks. This year I decided that I wanted our fourth graders to walk away with at least one substantial and meaningful print.
Research:
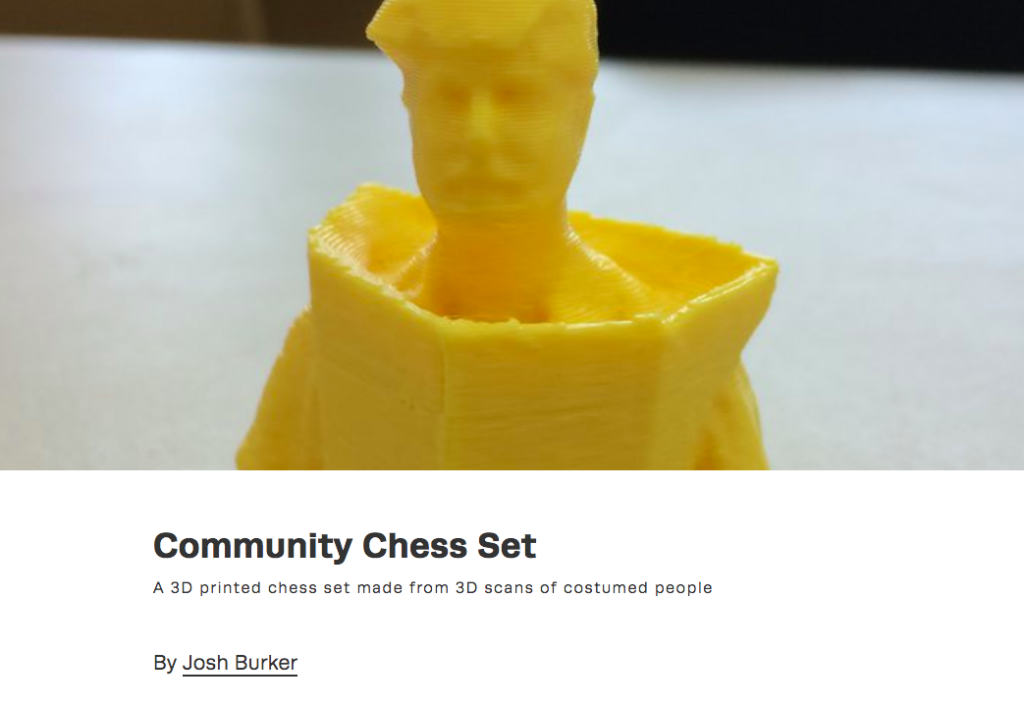
A colleague of mine, Josh Burker, did a project in one of his Maker in Residences at a public library that inspired me. He had community members design costumes for a community chess set.
These costumes were then worn by volunteers and Josh created a three-dimensional scan. Josh had to do some intensive post-processing because he did not have access to a Structure Sensor. I don’t think that at the time it even existed. The resulting chess set that he printed was spectacular and inspired me to think about how I could incorporate this into my work.
I began by sharing Josh’s work with my students. They loved it and immediately wanted to know if we could make their own sets.
Process
After sharing a great historical video that gave the whole group some common background, I broke the classes into groups based on the various chess pieces. The groups did some research on how their piece had been represented throughout history. They went on to find key elements that were necessary to identify their piece visually.
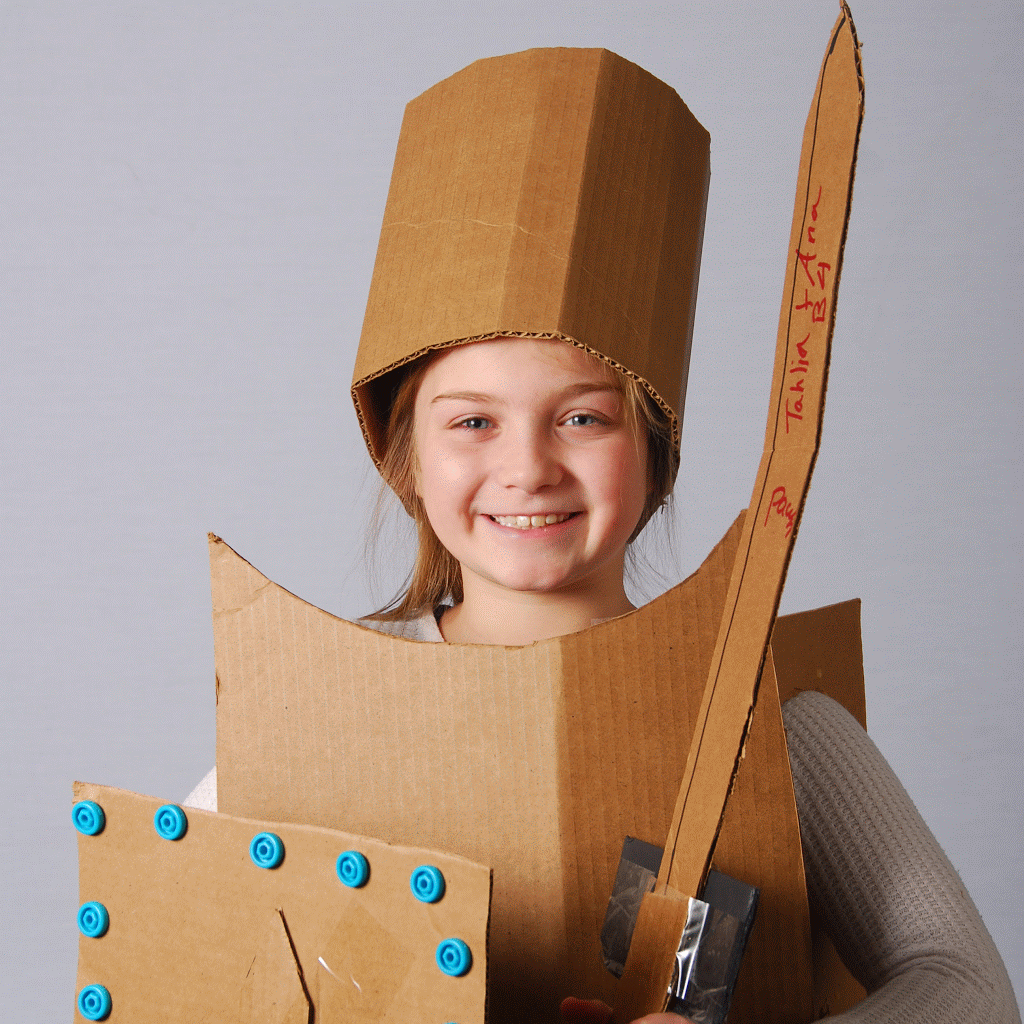
Next came some planning and sketching. The groups designed the costumes that they would wear. We used cardboard to create them. The students spent several sessions crafting armor, weapons, helmets, and horses. We used our Clever Cutters, Make Do rivets and lots and lots of duct tape to put them together. I think it’s pretty clear this was their favorite part!
 Next, we created a digital scan of the students inside their costumes.
I thought that a lazy Susan type device would help us make more accurate scans. I built one that was strong enough to support a human subject out of a bearing and a couple of plywood circles. It had an elaborate rope system that would be wound and unwound to get the subject to turn at a fairly even speed. In the end, we abandoned the spinner and had the person holding the Structure Sensor move.

The turntable has worked well for smaller objects like this, but it is strong enough to hold a 250 pound person.
In the end, we abandoned the spinner and had the person holding the Structure Sensor move.
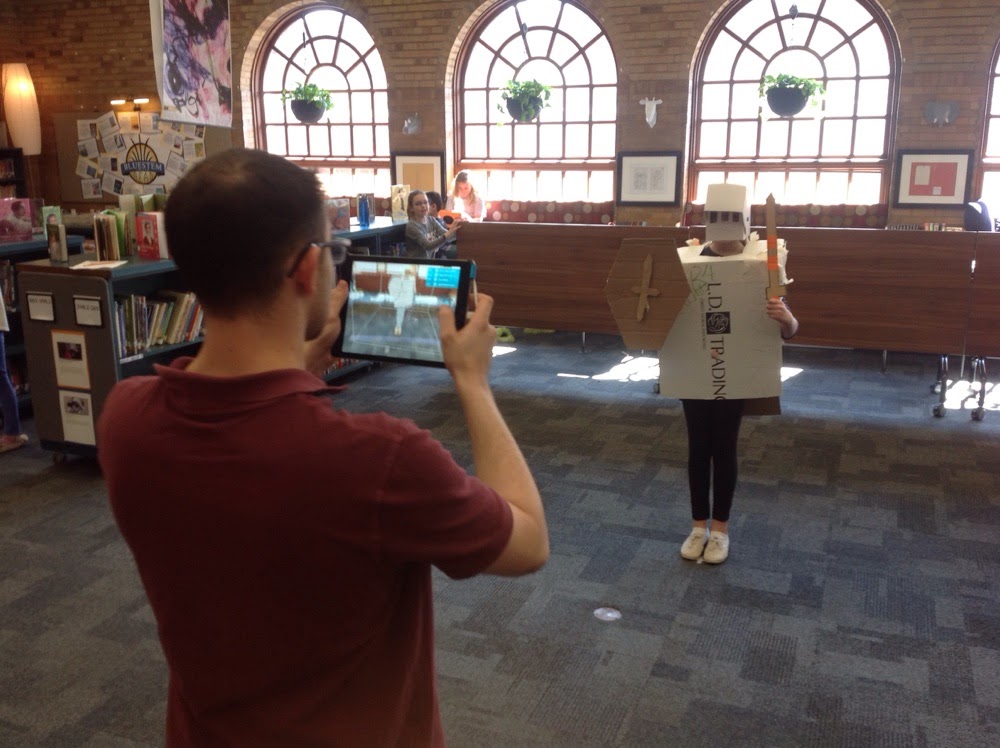
The scanner seemed to work best in bright light and with no other objects in the area. We used tables to block off any cross traffic.
It was fairly fast and simple. We opted for black and white scans to speed up the scanning process. The scanning took some getting used to, but after about sixty scans, we seemed to get the hang of it!
We exported the files and laid them out in the Cura software for our Ultimaker 3D printer. We were able to lay an entire set of pieces on our build plate and we waited while the printer worked for 24 hours!
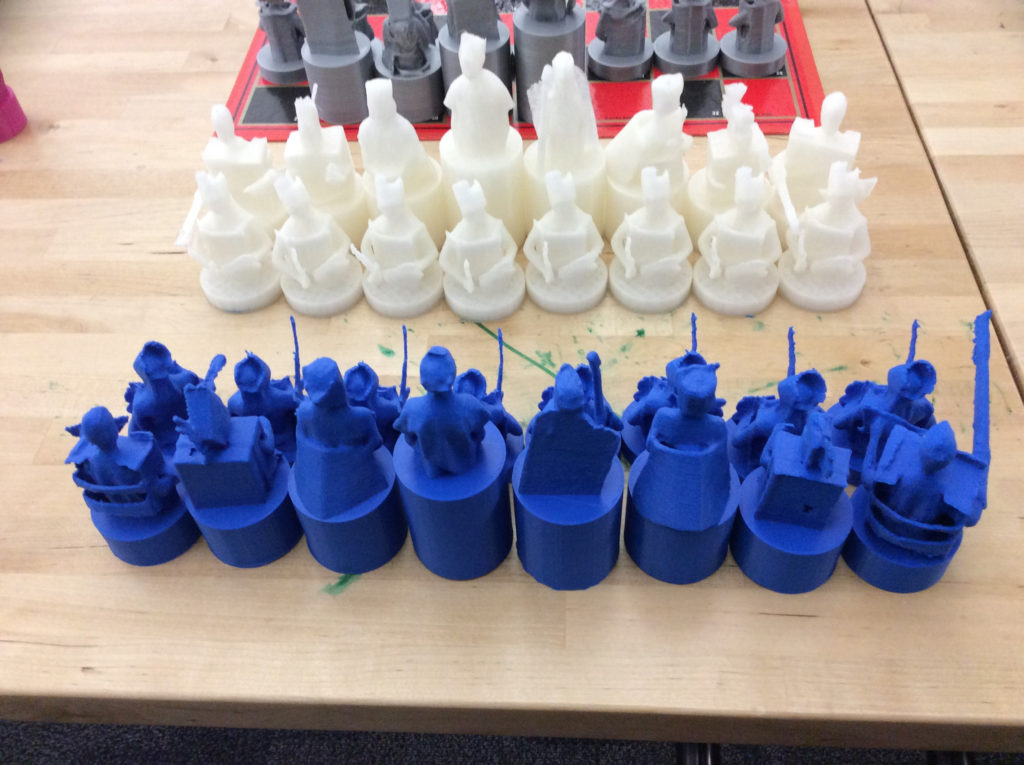 It took several tries, but we finally printed each of the pieces. Students used files and sandpaper to sand down the rough edges. Each class created a complete set and in the end, each child got to keep their piece.
Structure Scanner:
The Structure 3D Scanner is a powerful tool for capturing and creating models that can be 3D printed. It is important that the subject is well-lit with minimal conflicting objects. The next time I try to capture a human model, I’ll be sure to have the subject evenly lit on all sides. I’ll also remind the students that since the scans are captured in black and white, the details they add to the costume will be very difficult to perceive at such a small-scale.
The Structure Scanner is also able to capture and render 3D models of the physical space. I’m eager to explore how this could be useful in making a virtual reality tour of our IDEA Lab. I am just not sure that it can make an accurate scan of a room that once was used as a gymnasium. It seems to be limited in how large a space it can span.
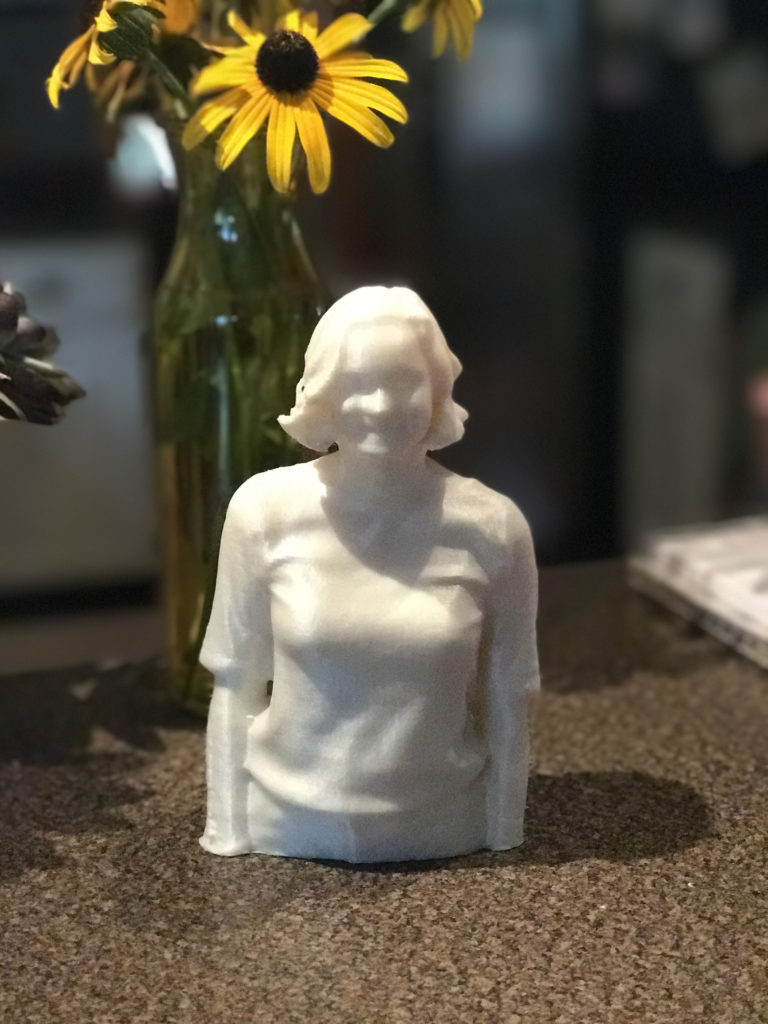
I wanted to explore how these models might print on a larger scale. My daughter happened to be moving back to college after several months at home and we all were going to miss her. So, I scanned and 3D printed her so we could have ‘her’ here at home!
 What’s Next?
I look forward to asking our visiting authors/illustrators and special guests to sit for a scan/portrait. Wouldn’t it be cool to have a 3D printed ‘sculpture gallery’ of the guests who have come to our school? Click the link to see just how amazing the structure sensor can render the human form.
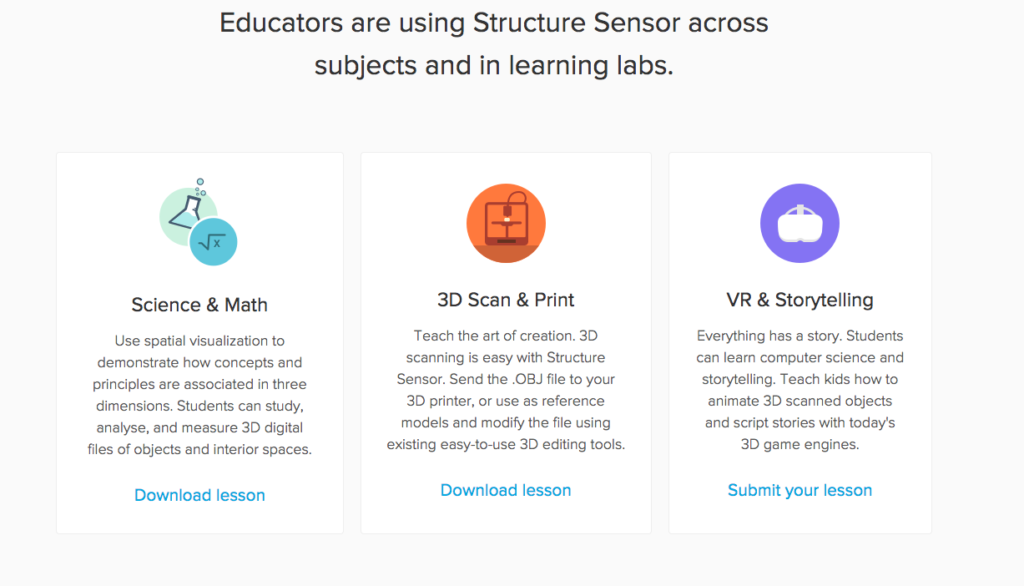
Structure has a variety of amazing lessons about integrating it across the curriculum:
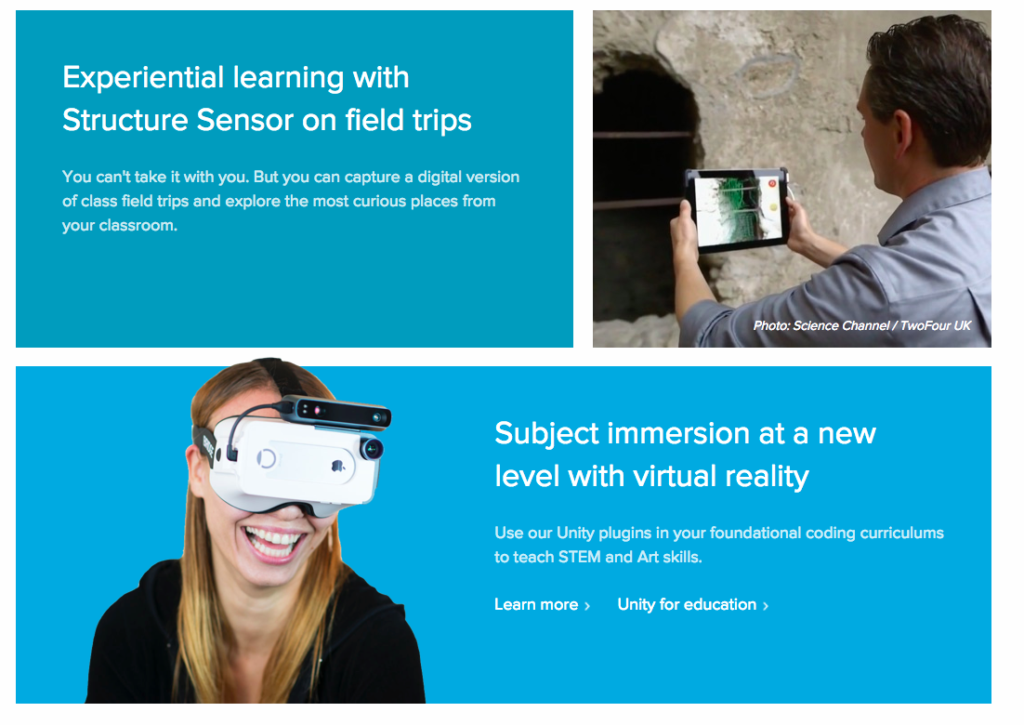
 Structure also has some amazing tools that will allow students and educators to explore creating and using their own VR and AR content.
 I’m eager to explore how we can take the students’ 3D designs and use them with tools like our Merge Cube!
A second way I’ve explored making 3D printing meaningful, is through an organization called Project Enable. This group uses 3D printing to design and print prosthetic hands for children. The best part is that they give them to the recipients for free! I started an after-school club with my students and we are eager to get matched with our first recipient!
Apps like Morphi simplify the process of designing 3D models, especially for younger students. This app has multiple ways for students to create 3D designs. One of the easiest is the 2D to 3D feature. This lets kids turn their doodle into a 3D object that can be further manipulated in the app.
Another of my favorite functions of the app is the augmented reality feature. This allows students to see their design in their space in real time! Empowering the students to make objects that are meaningful to them will increase the overall investment in the process for students.
How do you make 3D printing more meaningful with your students? Please share your thoughts in the comments!